Christmas is the time to surprise your friends and family with personalized gifts that will leave a lasting memory. One of the best gifts you can make without exceeding your festive budget is vinyl Christmas shirts for your mum, father, daughter, colleagues, and any other person you cherish. So, in this guide, we will share all the steps and materials you need to make this cheap and exciting DIY project a success. Let's learn!
Part 1: Step-by-Step Tutorial for DIY Christmas Vinyl Shirts
Now, without further ado, let's discuss the steps to create a Christmas vinyl shirt with a festive design.
Step 1. Select the right materials.
This is the first step whether you want to create a DIY vinyl shirt, stocking, blouse, cap, or any other heat transfer project. You have to source all the necessary materials to ensure zero interruptions in your project. Here is what we'll use in this project:
- T-shirt: Choose a plain cotton t-shirt for the project while considering the design's colour. For example, white or cream should blend nicely with black, green, and red.
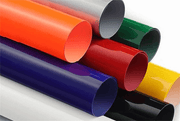
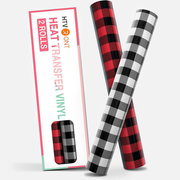
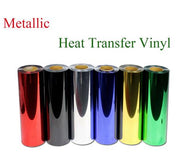
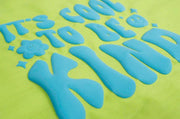
- Iron-on vinyl: I used a Heat Transfer Vinyl Roll from HTVRONT, a durable HTV material suitable for numerous fabrics. You can also consider 3D Puff Vinyl for a more fashionable and unique design without over-puffing or cracking.
- Cutting Mat: I use HTVRONT's Cutting Mat, which is compatible with Cricut Maker or Cricut Explore Air 2. Remember to use the fabric grip mat for cotton, polyester, denim, and canvas.
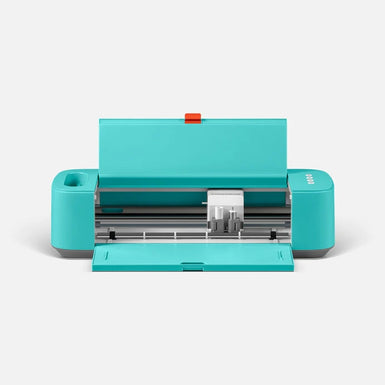
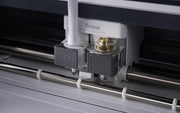
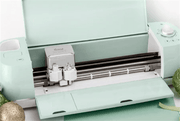
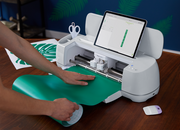
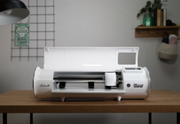
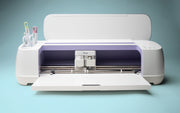
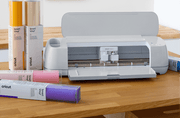
- Cutting Machine: In this project, we'll use Cricut Maker 3.
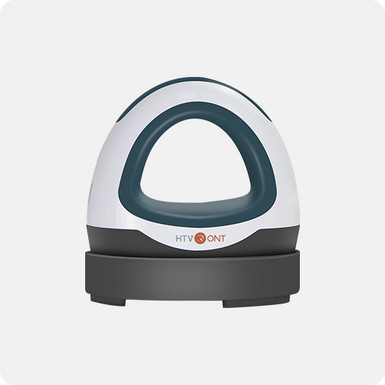
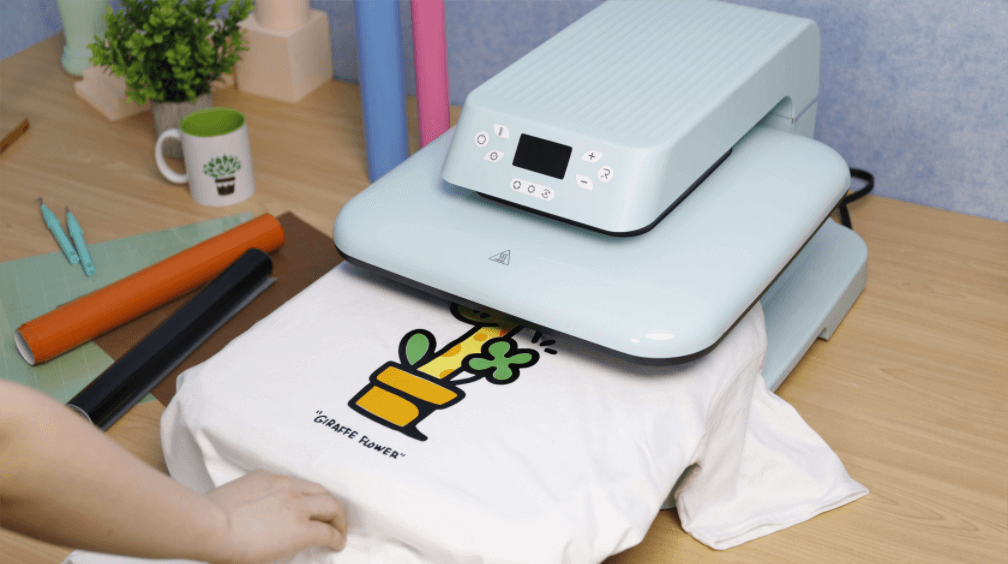
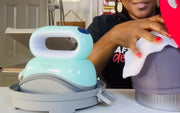
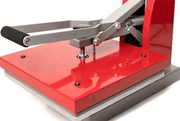
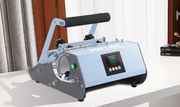
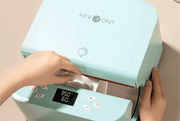
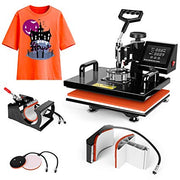
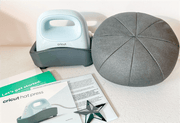
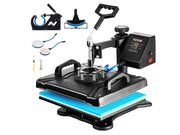
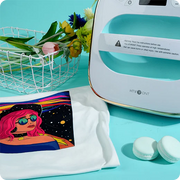
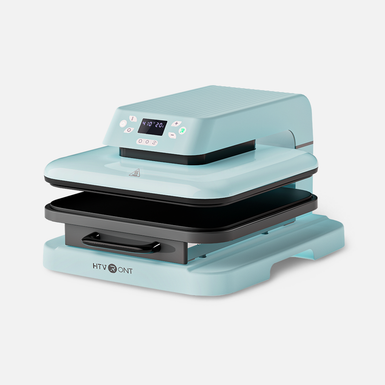
- Auto Heat Press: HTVRONT Auto Heat Press Machine should handle the project effectively. If you're on a tight budget, check out HTVRONT Auto Heat Press with a new display function and auto-shut off.
Free Your Hands with HTVRONT Auto Heat Press
- Heat up to 320℉ /160℃ within 4 mins, saving 2minutes than common type.
- Upt to 4 fast modes, 2 custom modes and an auto mode for your creativities.
- Separated ironing board and auto shut-down design for your safety.
- Weeding tools: You'll need weeding tools to remove excess vinyl, tiny cuts, and carrier sheets. In short, weeding tools will help you remove unwanted vinyl you don't want in your t-shirt design.
-
T-shirt design: I found this "Merry Merry Merry Christmas" SVG design for my project. Don't worry; there are many designs for you to use out there.

Step 2. Create the design.
Now it's time to give the design a more rustic feel and perfect for the season. After uploading and editing your design on Cricut Design Space, it's imperative to mirror it and prevent the design from appearing backward in the base material. Simply tap the "Make It" button, enable the "Mirror" toggle, and continue with your cut.
Step 3. Cut iron-on vinyl and weed it.
We are ready to cut our HTV up to here. Unwrap your HTV roll and use scissors or a paper trimmer to cut the excess part. The extra material could come in handy in your later projects. After that, insert the cutting mat on your Cricut Maker machine by clicking the down arrow. Once the machine starts flushing, press the Cricut button to start cutting.

After the machine has finished cutting, tap the arrow button again to unload the mat. Then, use your weeding tool to peel off the layer on your design.
Step 4. Transfer the design to your shirt.
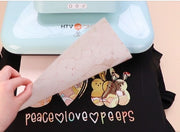
This is the part that we've all been looking forward to. Start HTVRONT Auto Heat Press and set the temperature, pressure, and time for your material according to the recommendations from the manufacturer.

Next, cover your project with a Teflon sheet and place it on the pullout drawer plate before pushing it into place. After that, start the pressure timer and apply pressure to the design. Lastly, peel off the carrier sheet and enjoy your design!

Part 2: Tips to Help Me Make Vinyl Christmas Shirts
Before diving into the detailed steps to make vinyl Christmas shirts, let's discuss some of the vital things to remember during this DIY process.
1. Create the perfect SVG design
You can use any image or text to create your SVG design. However, creating a personalized SVG design on a program like Photoshop would take some time and skill. So, we recommend heading to Loklikworkshop.com to download thousands of free SVG designs for your project.

2. Shop for the materials wisely
You don't need to overspend on vinyl Christmas shirt ideas. Shop around for the best deals to make your project successful without overspending. We recommend checking out the HTVRONT Christmas Heat Transfer Vinyl Bundle, perfect for adding creative festive decorations to multiple items, including t-shirts, pillows, ornaments, stockings, etc.
3. Pay attention to time and temp
When creating Christmas vinyl shirts, using the correct time and temperature is vital. For this reason, we advise you to read the HTV product description because this may vary between manufacturers. Usually, the ideal temp for HTV is 260°F to 315°F (130°C and 160°C) for around 15 seconds.
4. Preheat and let it cool down
Preheating your shirt is essential as this will help remove excess moisture, residual chemicals, and wrinkles that can interfere with the heat transfer. Also, you can mess up your design if you peel off the carrier sheet too soon. So, let the vinyl cool down before peeling.
5. Avoid working with richer colors
If you're still a beginner with HTV, this advice is for you. The thing is that working with richer colors means cutting more colors. In return, this can make your DIY project more complicated and time-consuming.
6. Take care of the machine
The heat press machine is at the center of your project. This means you should take good care of the machine to avoid getting stuck in the middle of the session after a sudden breakdown. Below are some tips to maintain your heat press machine:
- Keep the workplace dust-free and clean.
- Occasionally lubricate wear points like rods and pistons.
- Avoid using third-party electricity cords.
- Keep the platen clean by wiping it using a damp, soft cloth.
- Turn off the heat press machine when idle.
Part 3. Troubleshooting Common Issues
1. What vinyl can I use on a Christmas shirt?
HTV is recommended for Christmas vinyl decals for shirts. Usually, it has a transparent carrier sheet on top of the vinyl to keep the design in place during cutting. You can also use adhesive vinyl on t-shirts, although this option is best for smooth, hard surfaces. The thing is that adhesive vinyl will easily peel off on fabric and won't withstand washing and ironing, unlike HTV.
2. Why didn't heat transfer vinyl stick to my shirt?
One of the main reasons for a failed HTV design transfer is not following the recommended heat, time, and pressure settings. Also, preheat your fabric to remove moisture, grease, or dirt before applying the design.
3. Why does my HTV wrinkle after washing?
If you notice wrinkles after washing your HTV, there are a few things you might have done wrong. For example, waiting 24 hours after applying HTV before washing the fabric is recommended. In addition, always wash your HTV in cold water, although some can withstand high temperatures.
Final Words
That was so easy, right? We hope this short and sweet tutorial will motivate you to create family vinyl Christmas shirts this holiday season. Of course, we would love to see your creations, so take a photo and share it with us. Happy holidays!

































































![[Starter Kit] Auto Heat Press Machine 15" x 15" 110V + Starter Kit Bundle](http://www.htvront.com/cdn/shop/files/20240425-170634_385x.jpg?v=1714036345)
![[Premium Bundle] Auto Heat Press Machine 15" x 15" 110V + 20 rolls HTV Bundle 12“x3ft + Mini 2 Heat Press Machine + Random Sublimation & HTV Bundle ≥ $180](http://www.htvront.com/cdn/shop/files/1UK_4_22c12b1b-12dd-4105-ac25-93e2faae6a8c_385x.jpg?v=1713863580)
